This post contains affiliate links. Please see our disclosure policy.
If you’re experiencing SI joint pain, you know it’s hard to ignore. But before we dive into some SI joint pain relief, let’s first discuss exactly what this joint does, what you might experience if it’s not working properly and SI joint pain exercises and stretches to find relief.
SI Joint Pain Symptoms
The sacroiliac joint, or SI joint, is located in the pelvis linking the iliac bone to the sacrum. It’s primary purpose is to absorb shock from movement, support the spine and distribute weight across the pelvis. But when this joint is out of whack, you may experience the following symptoms:
- Lower back pain
- Hip pain
- Groin pain
- Numbness/tingling weakness
- Radiating pain into thighs and upper legs
- Increased pain upon standing
- Pelvis stiffness or burning
Sacroiliac pain can mimic other conditions, such as a herniated disc or hip problem, so it is important to contact your doctor or chiropractor for a proper diagnosis.
What Is The Treatment for Sacroiliac Joint Pain Relief
If sacroiliac joint pain is your problem, then a treatment plan is what you need. Most recommendations for SI joint pain treatment, include rest, heat and ice, chiropractic care and anti-inflammatory medication such as ibuprofen. But don’t stop there, in order to try to alleviate SI joint pain more quickly and keep it at bay once it starts to heal, including specific exercises into your daily life can prove very beneficial.
SI Joint Pain Exercises
These SI joint pain exercises can aid you in both relief and prevention. Be sure to modify or stop if the pain increases, otherwise it’s a good idea to practice these exercises regularly.
Bird Dog
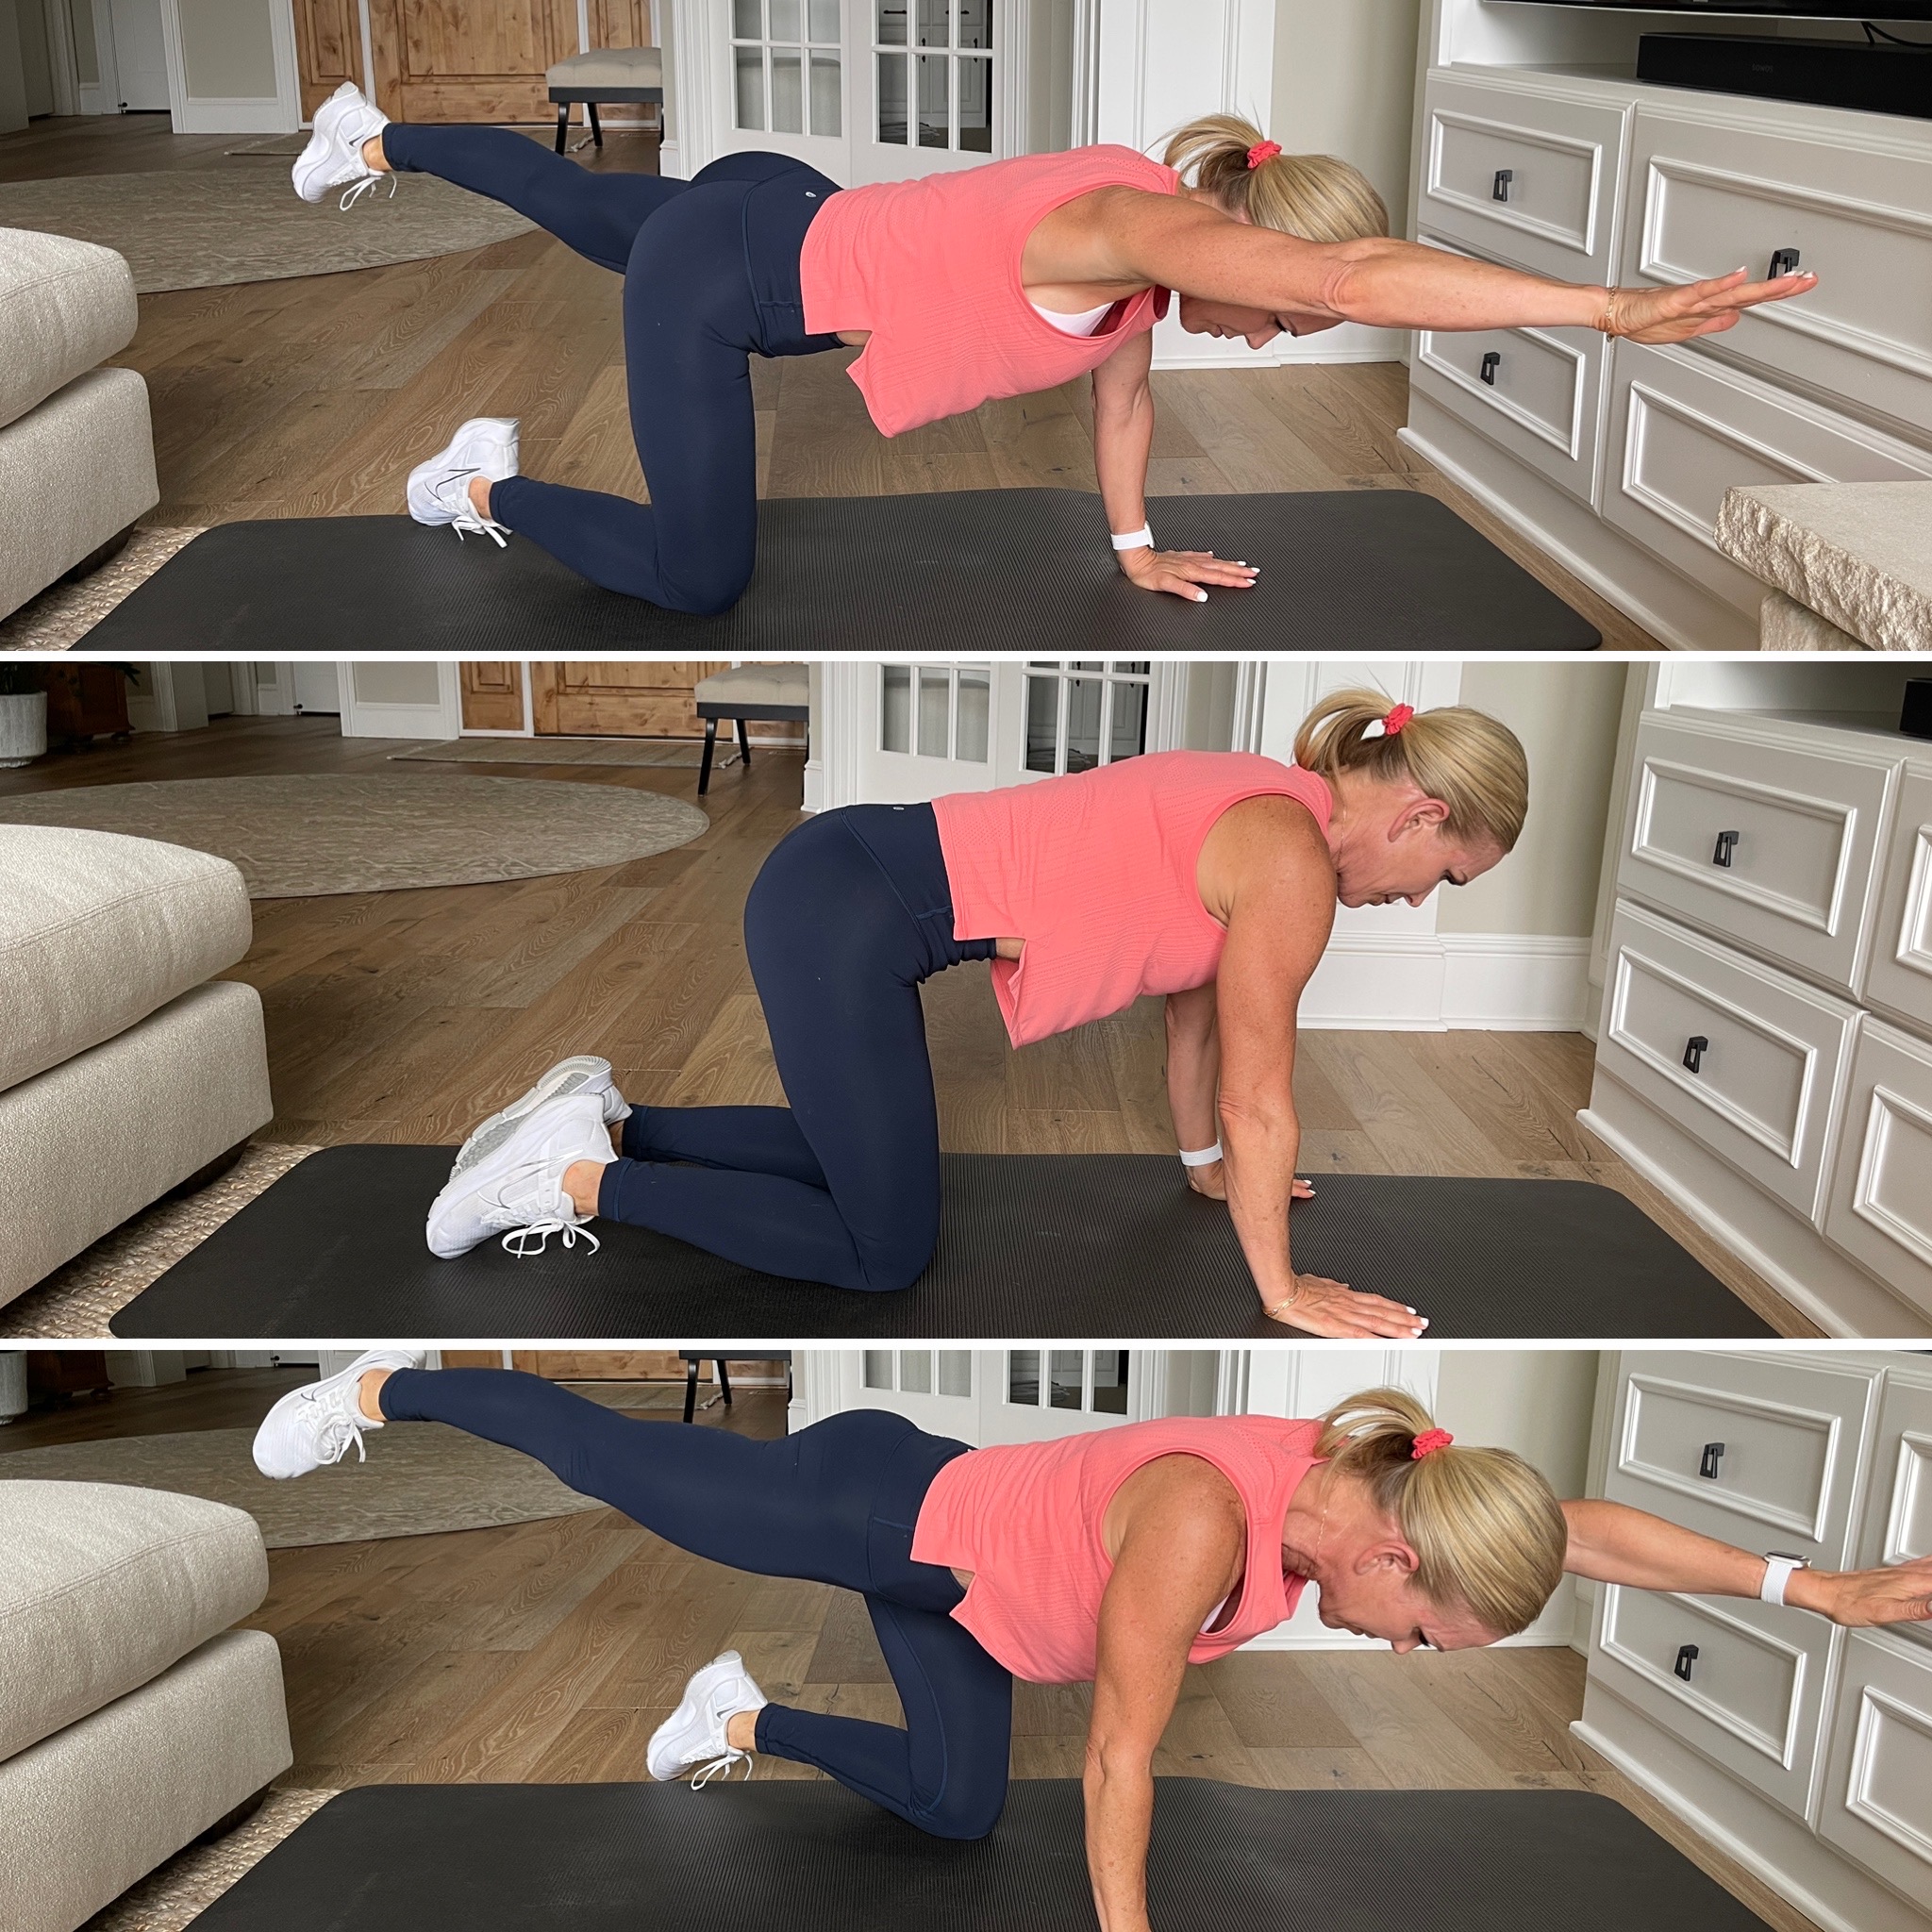
Here are the steps to performing bird dog:
- Kneel on the mat on all fours. Reach one arm long, draw in the abdominals, and extend the opposite leg long behind you.
- Repeat on the other side.
Glute Bridge
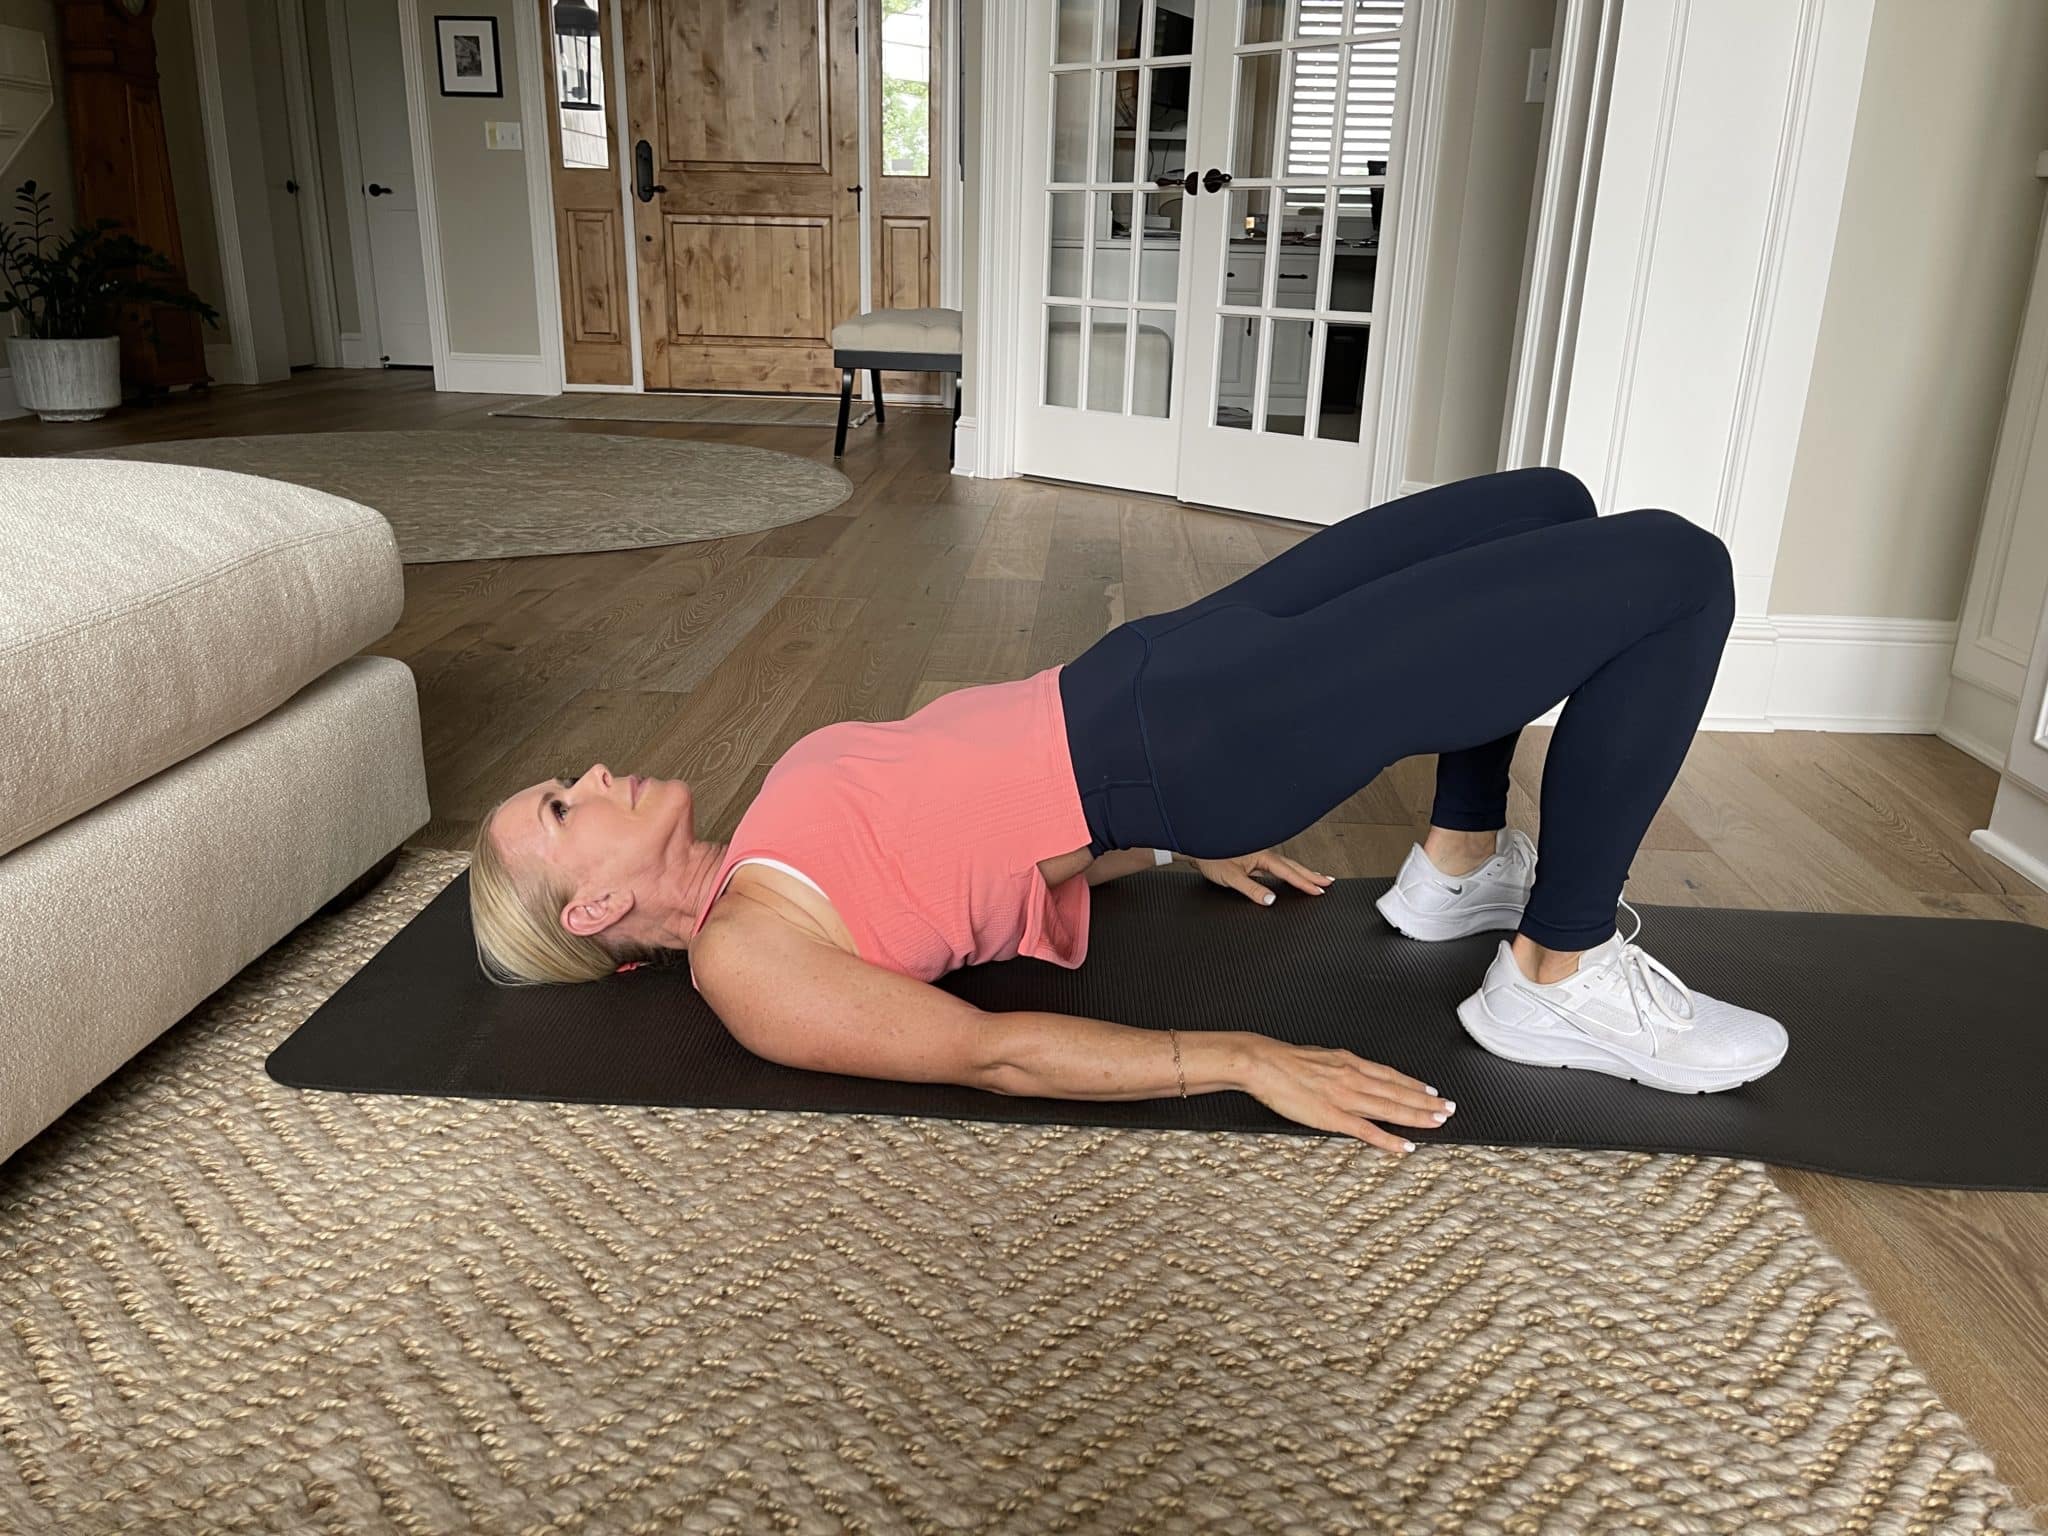
Here are the steps to performing glute bridges:
- Lie on back with bent knees hip distance apart, and feet flat on mat stacked under the knees.
- Engage the core and squeeze your glutes as you lift your hips to a bridge. Hold, squeezing tight and return to mat with control. Repeat for desired number of reps.
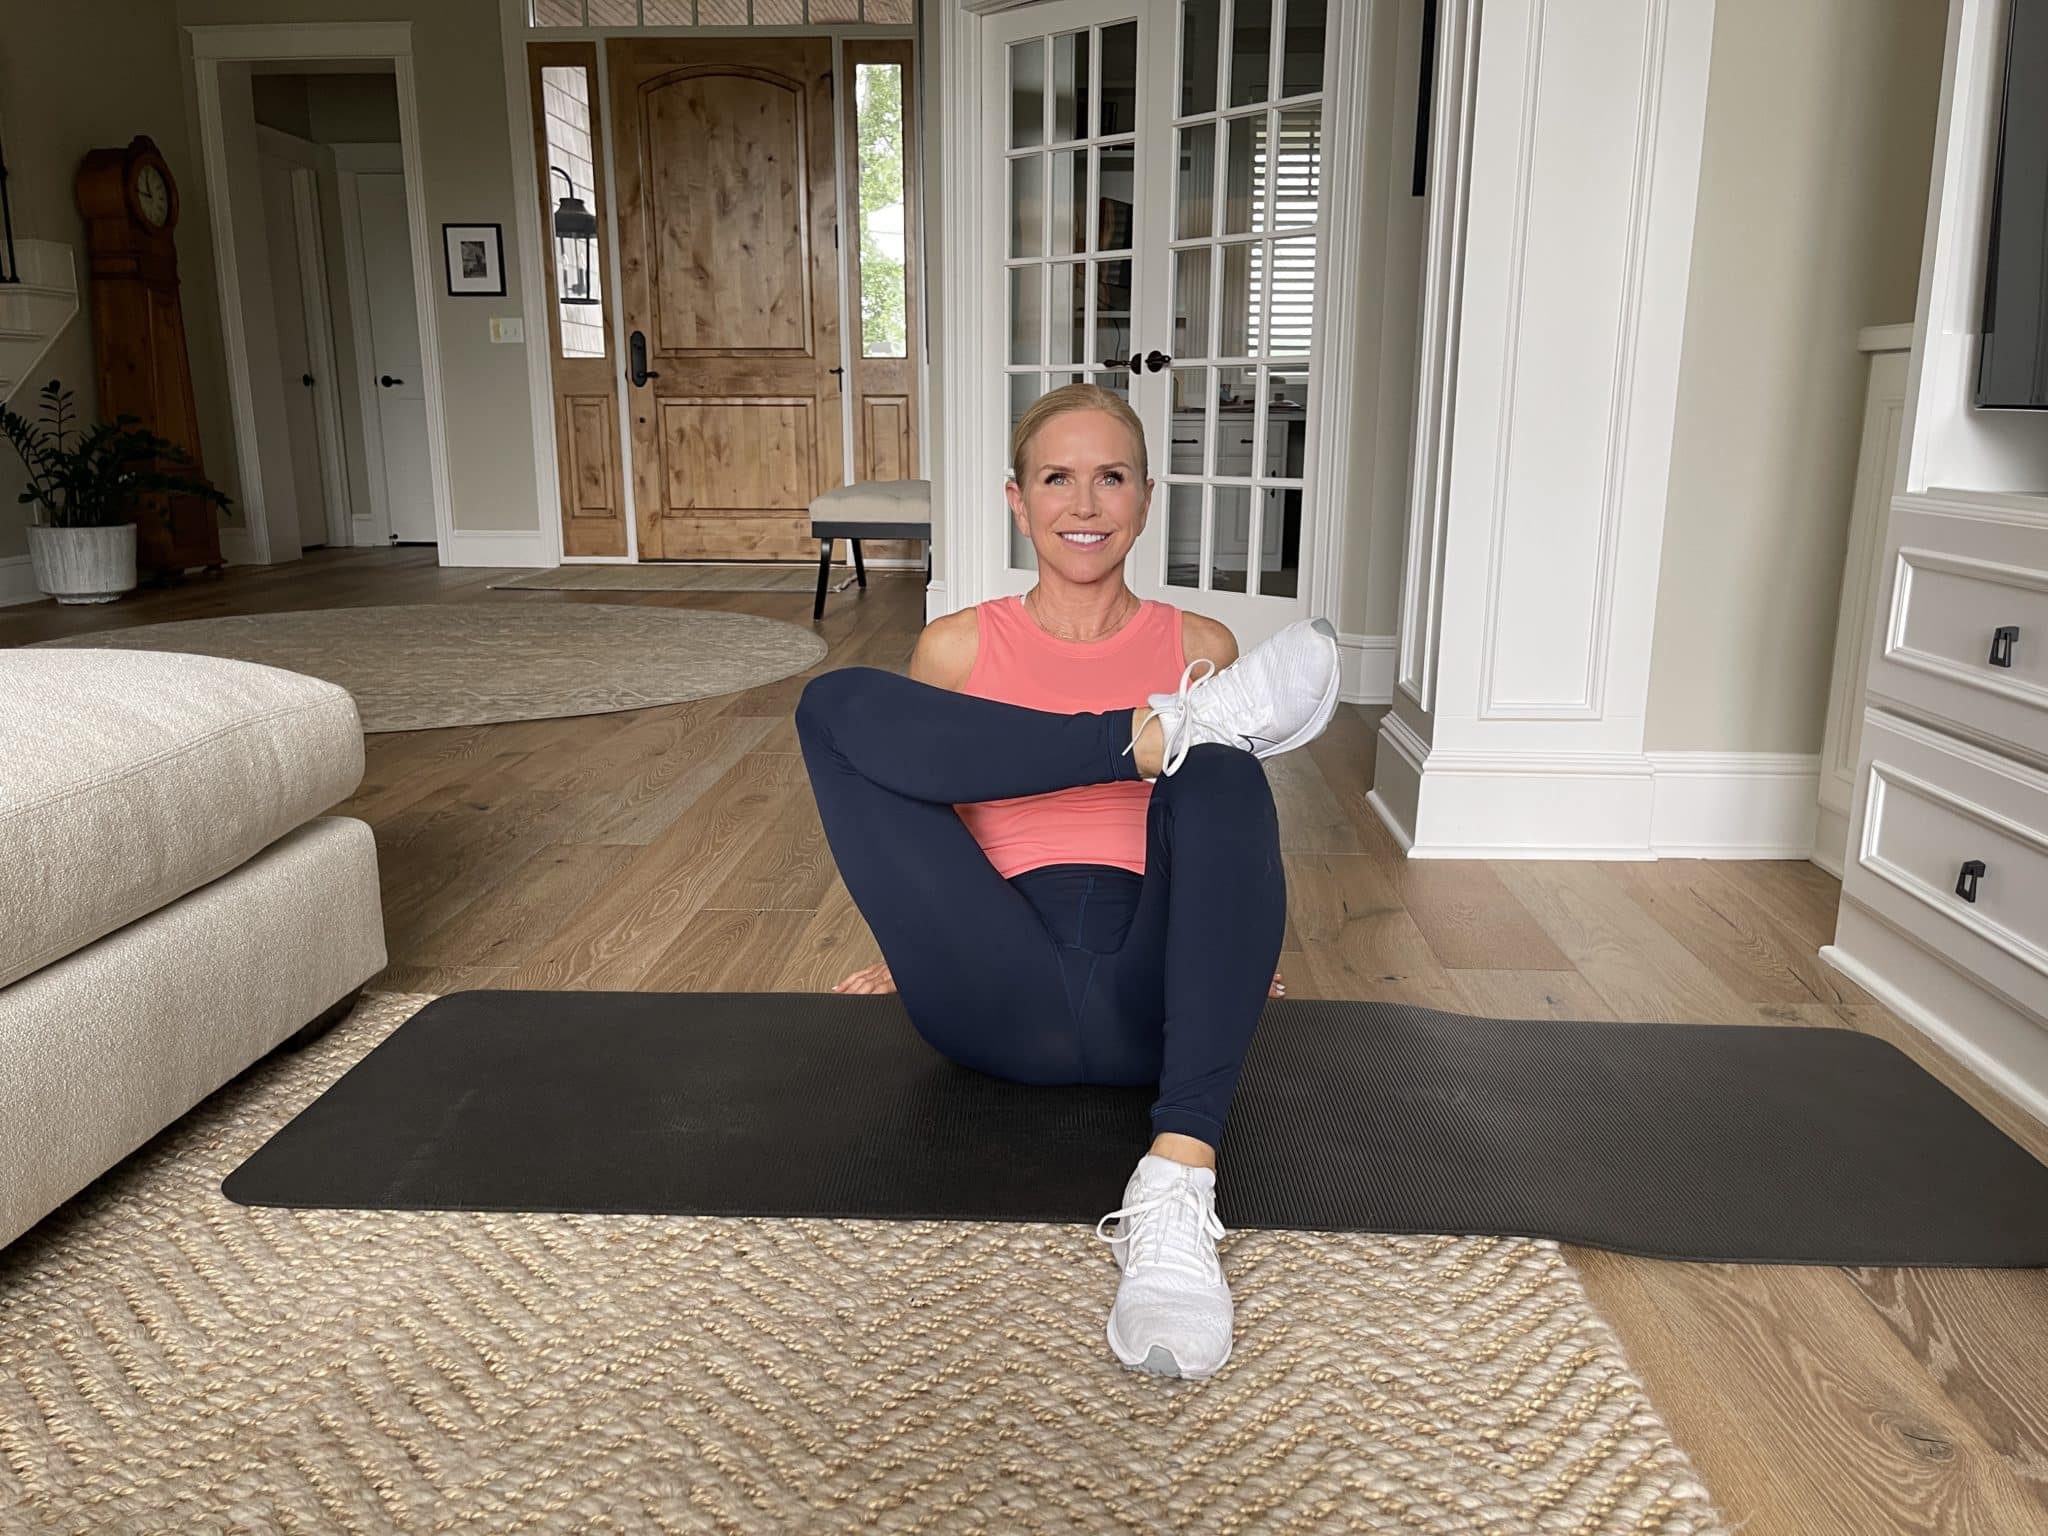
Figure 4
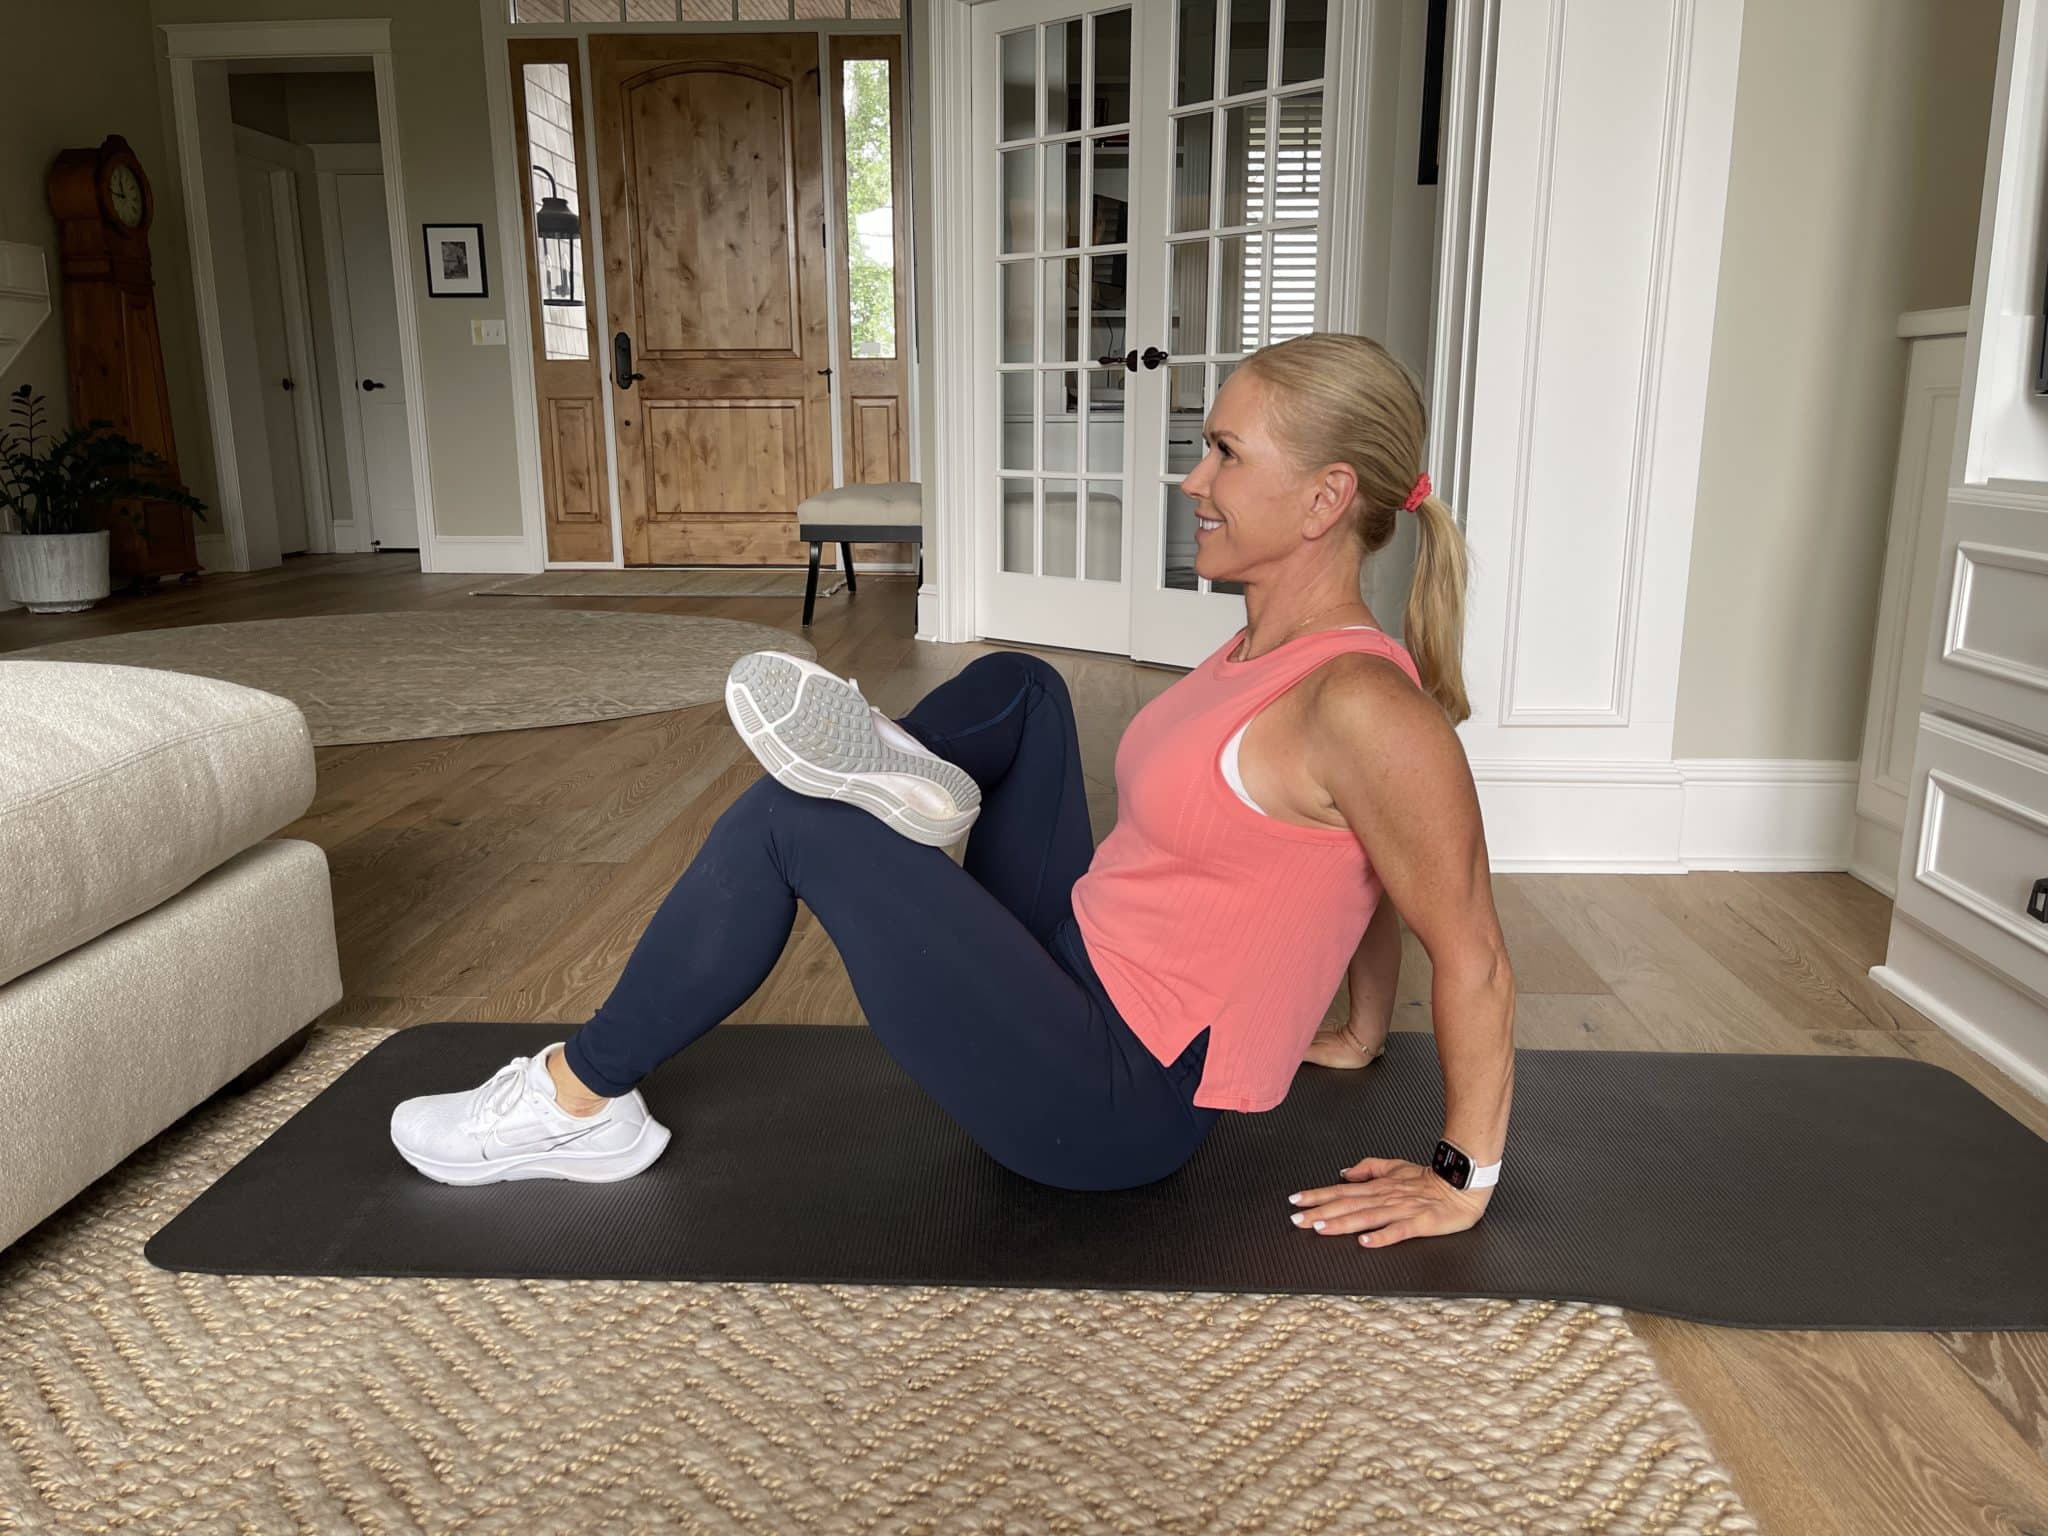
Here are the steps to performing figure 4:
- Sit on the floor with both legs stretched out long, sitting with back up tall.
- Take one leg and cross ankle over opposite thigh. From this “figure 4” position, take the leg that’s long and drive into the chest, bending the knee and keeping the heel on the floor.
- Pull the knee into the chest, while the opposite knee drops out to a create a “4” shape.
- Lift the chest up tall and breathe while sitting deeper into the chest.
Single Knee to Chest
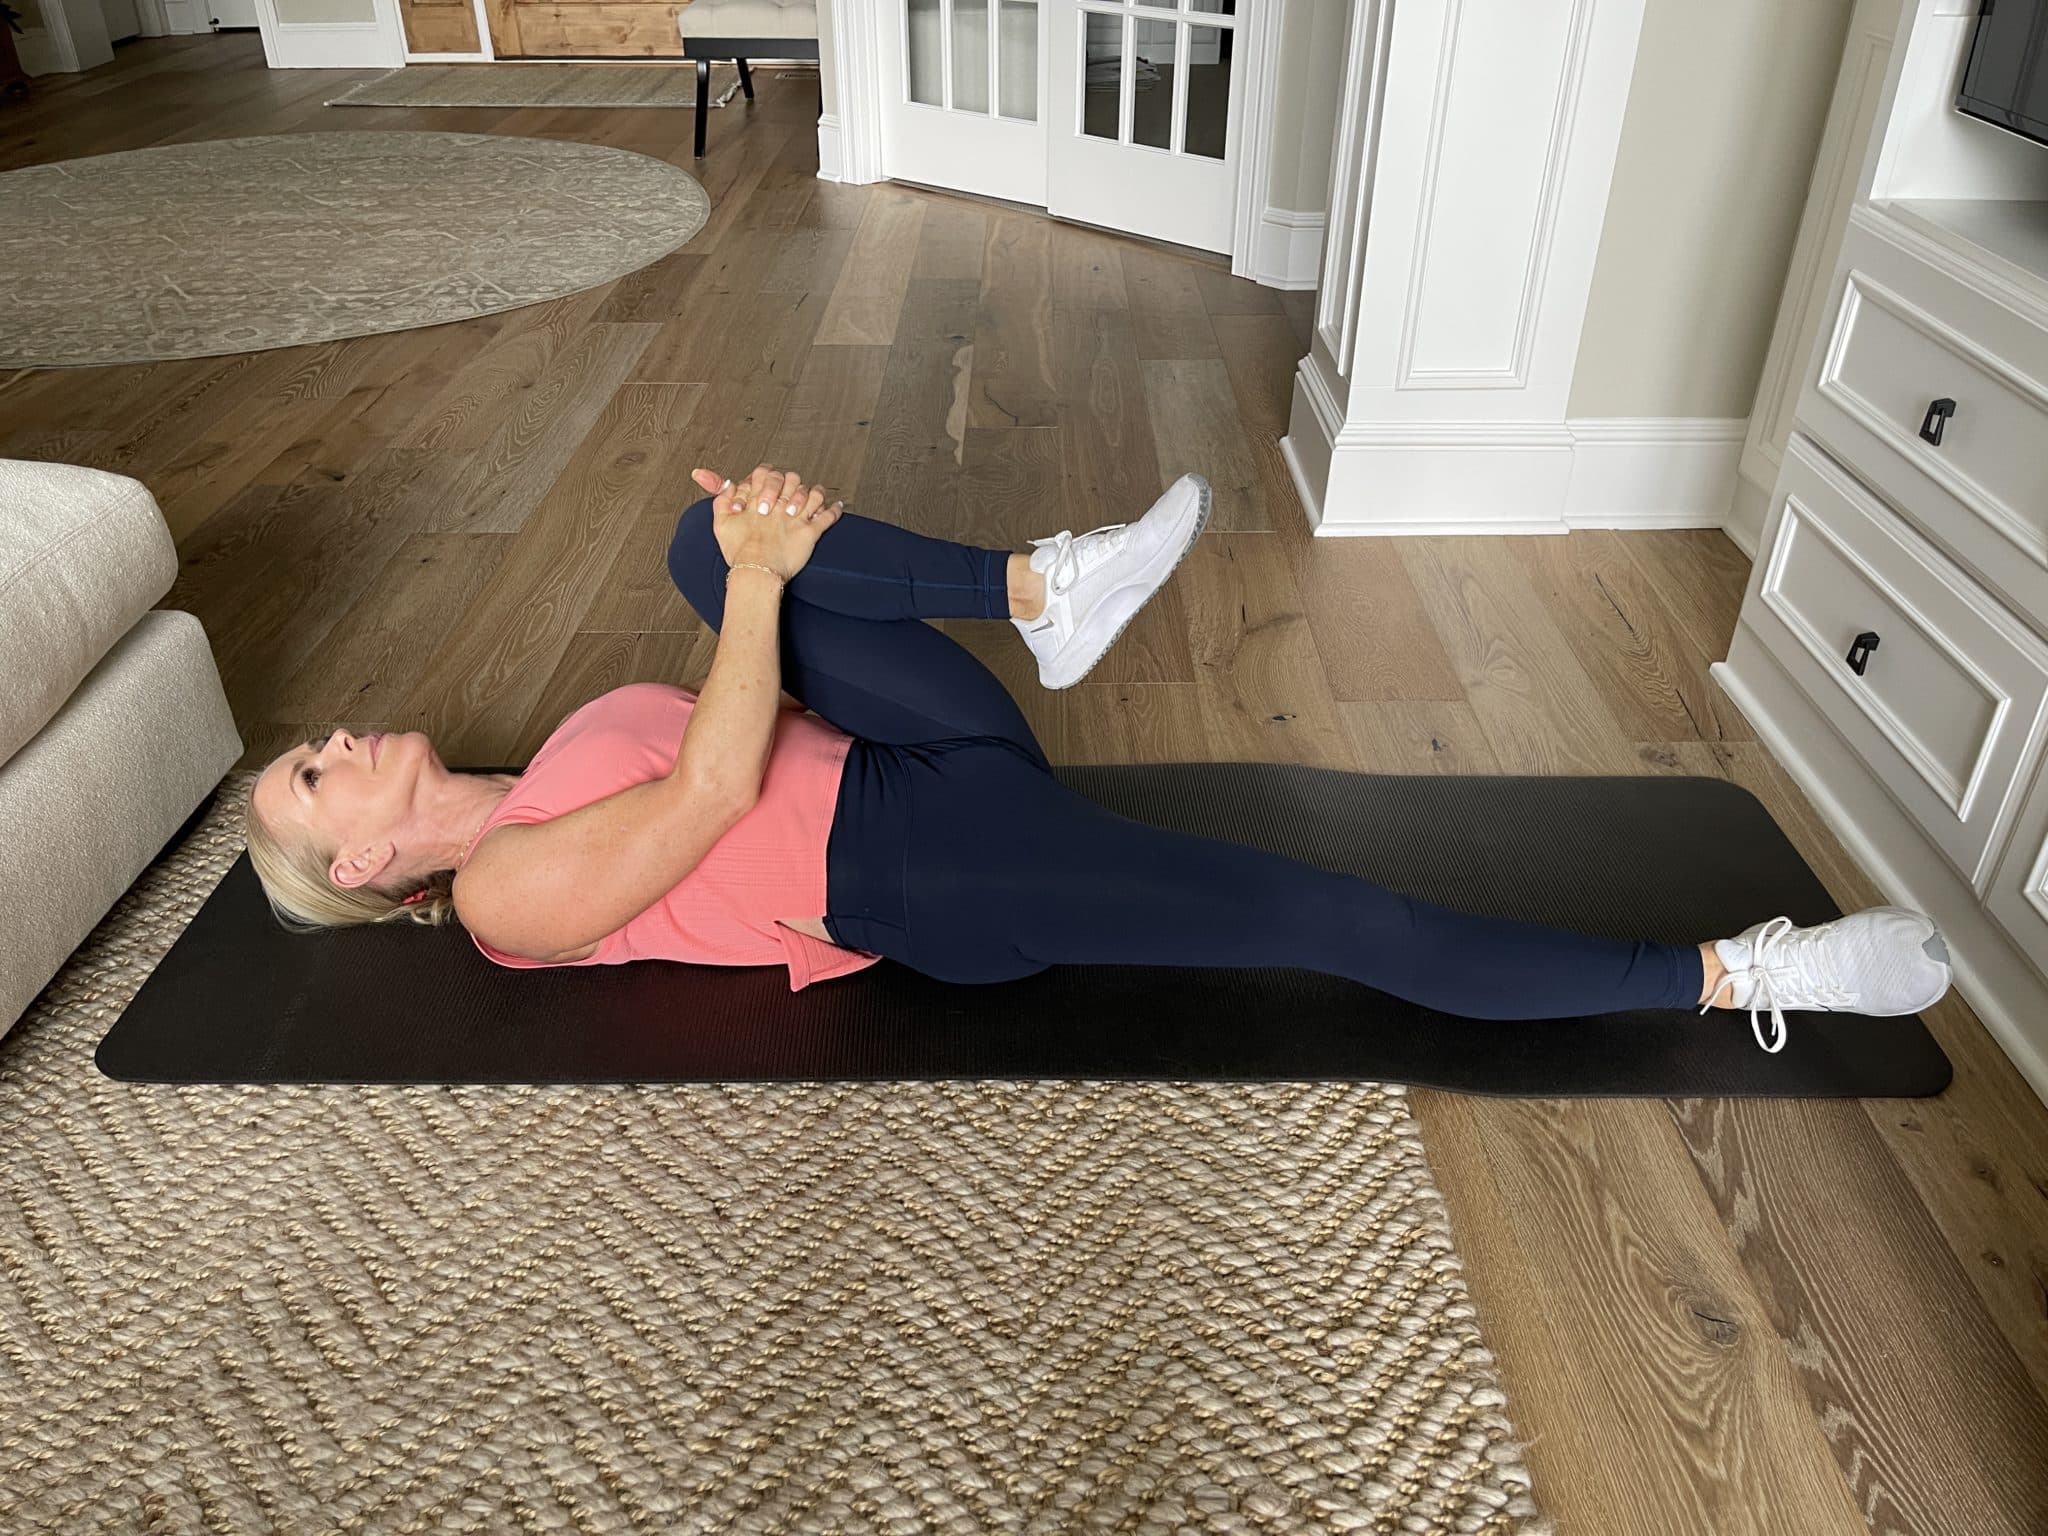
Here are the steps to performing single knee to chest:
- Start by lying on your back with legs extended long.
- Draw one knee into the chest and grab on with both hands. Keep pressing the opposite leg long and straight.
- Inhale and exhale as you hold this stretch for five to ten seconds. Continue this process with both legs, repeating on each side 4 times through.
Double Knee to Chest
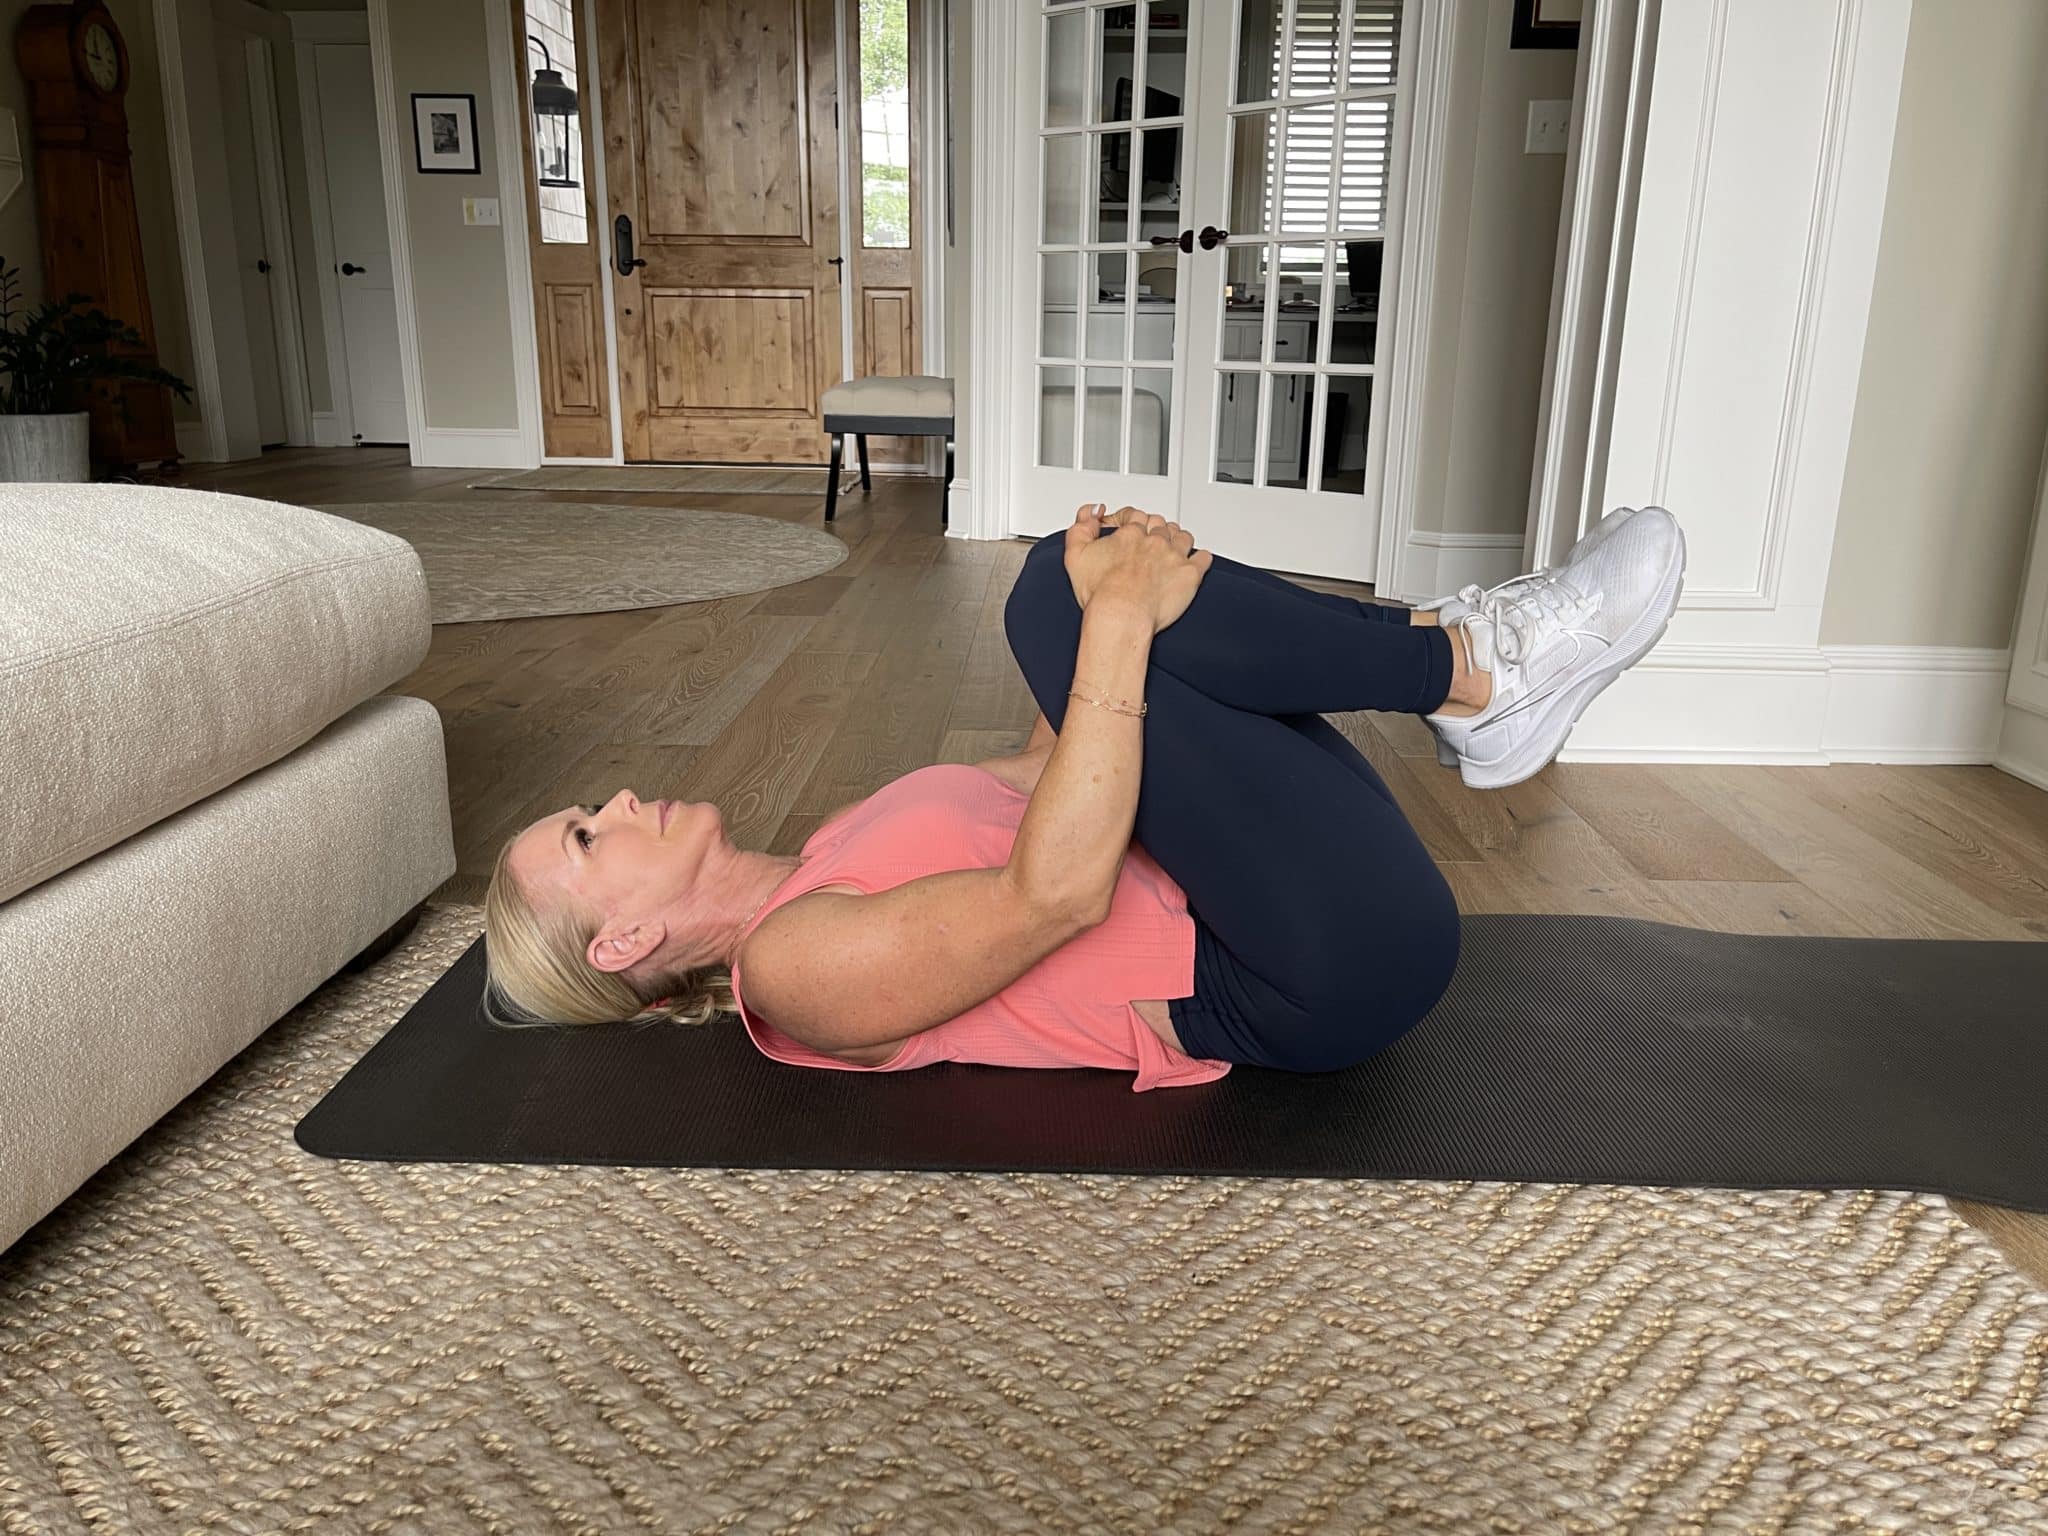
Here are the steps to performing double knee to chest:
- Just like the single knee to chest, lie on your back and draw both knees to your chest. Hugging both knees tightly, grasping both hands around the knees.
- Hold this position for five to ten seconds. Release the grip from the legs and slowly lower the legs back to starting position.
- Repeat 3-4 sets for complete relaxation of the si joint and lower back relief.
Gentle Supine Twist
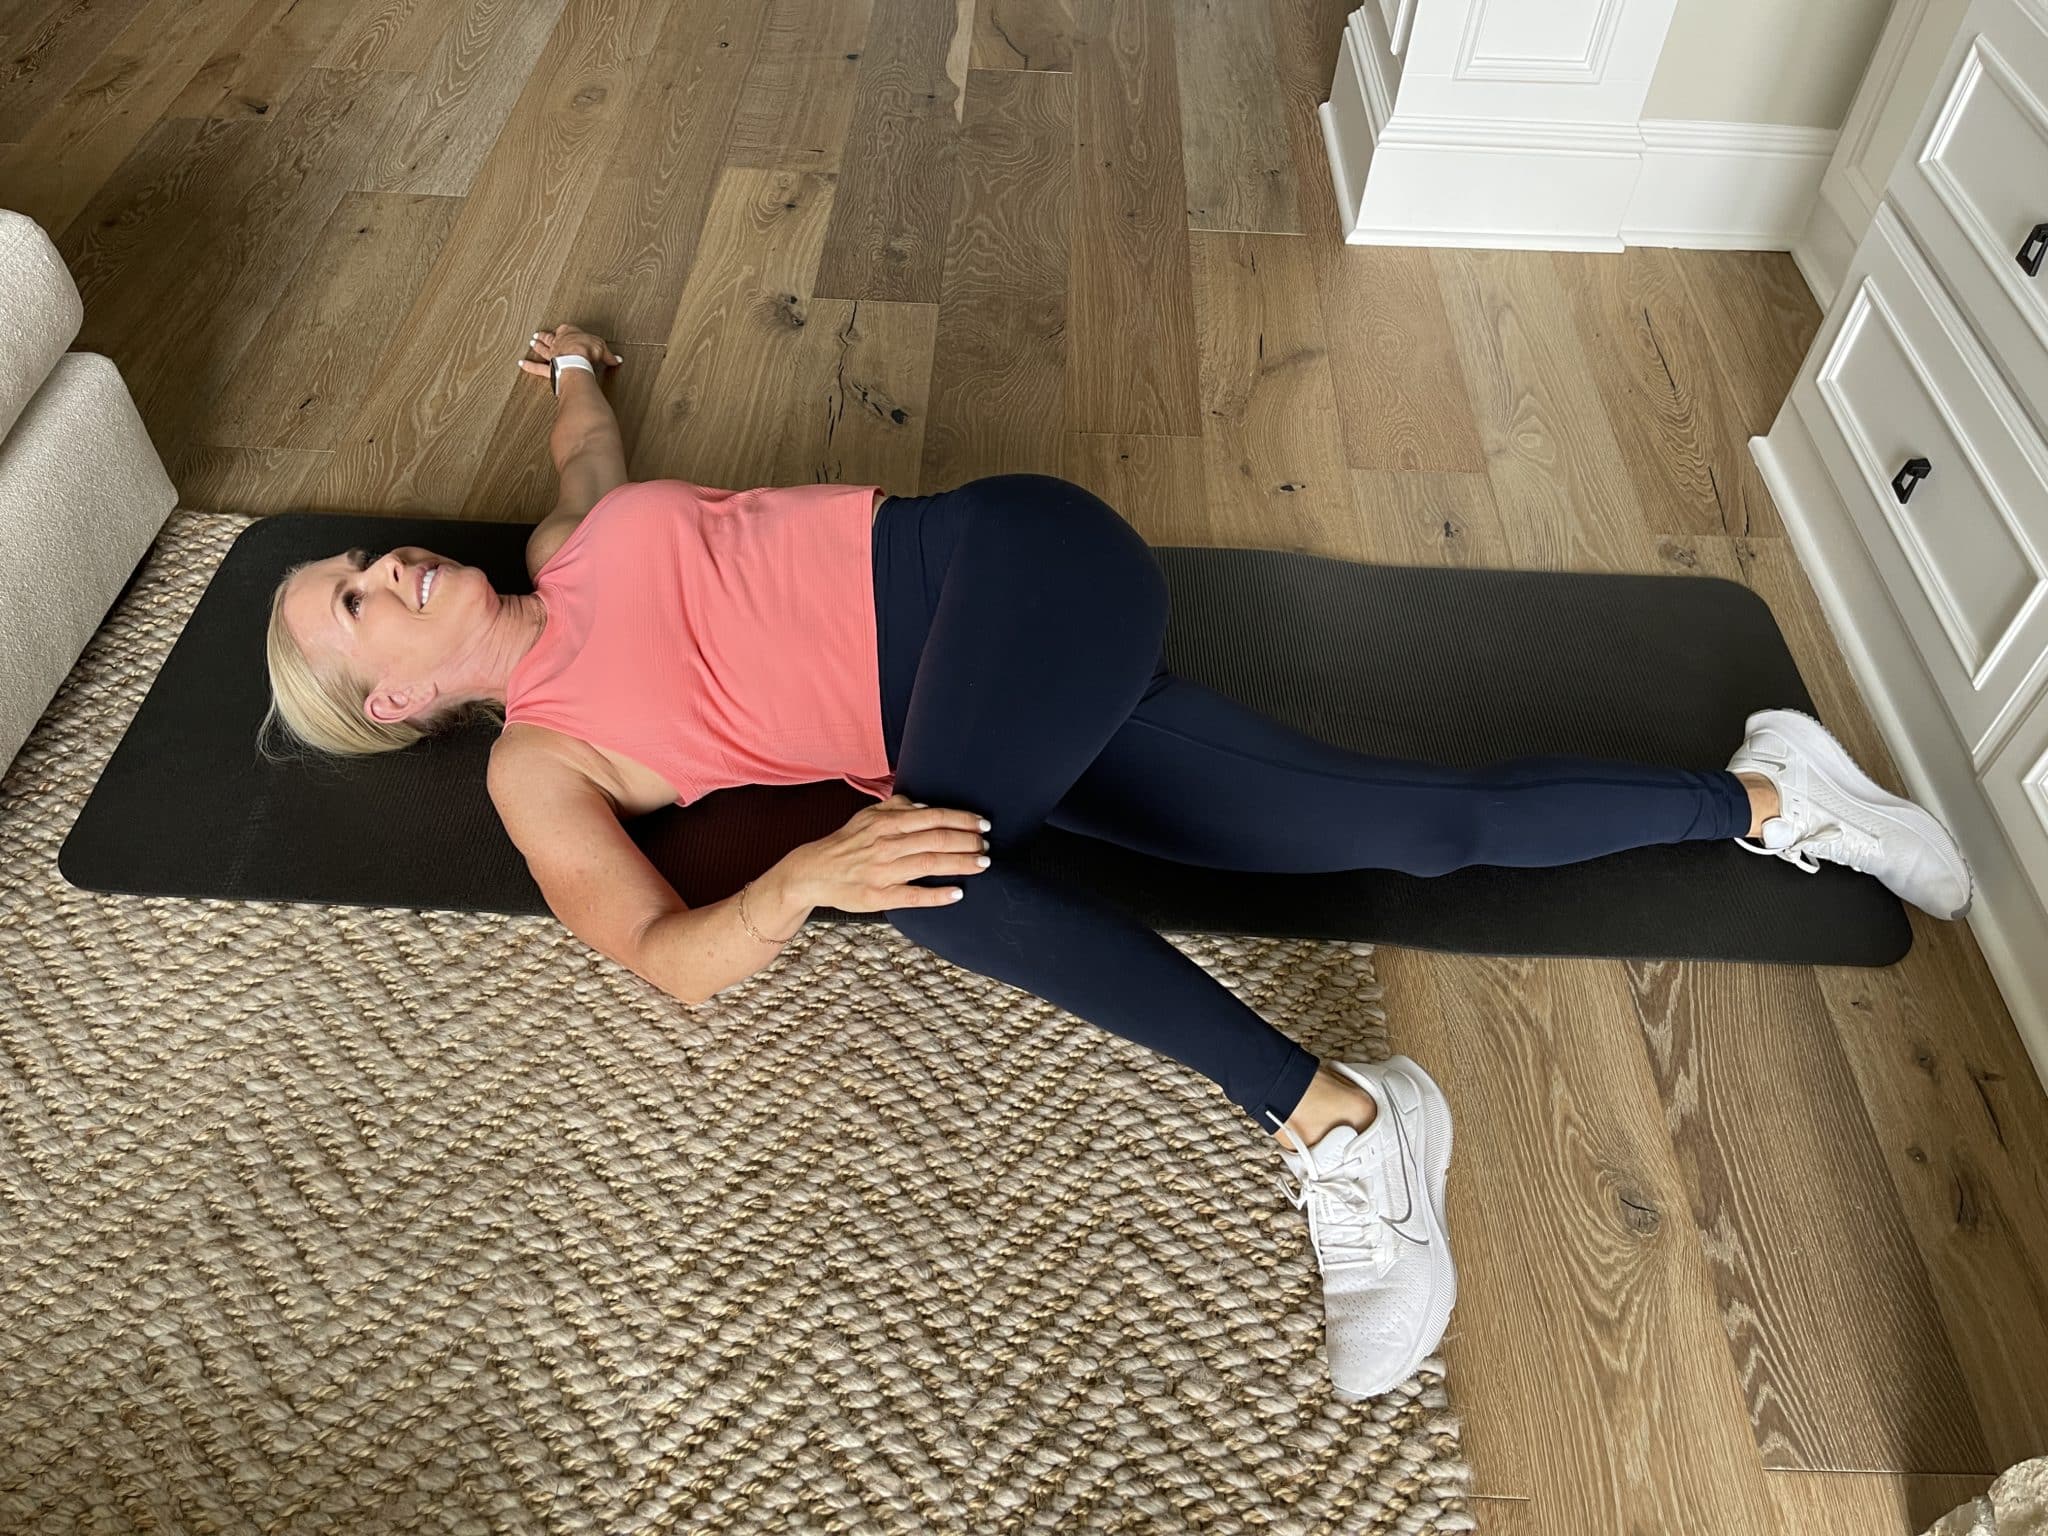
Here are the steps to performing gentle supine twist:
- Start by lying on your back with legs stretched out long.
- Bend one knee into the chest while keeping the opposite leg stretched out long.
- Using the opposite hand as knee drawn into the chest, exhale and gently cross the knee over the midline to the floor on the opposite side. Stretch the opposite arm out long into a “T position,” maintaining both shoulders onto the mat.
- Hold the pose anywhere from 10 – 20 seconds and repeat on the opposite side.
Modified Corkscrew Stretch
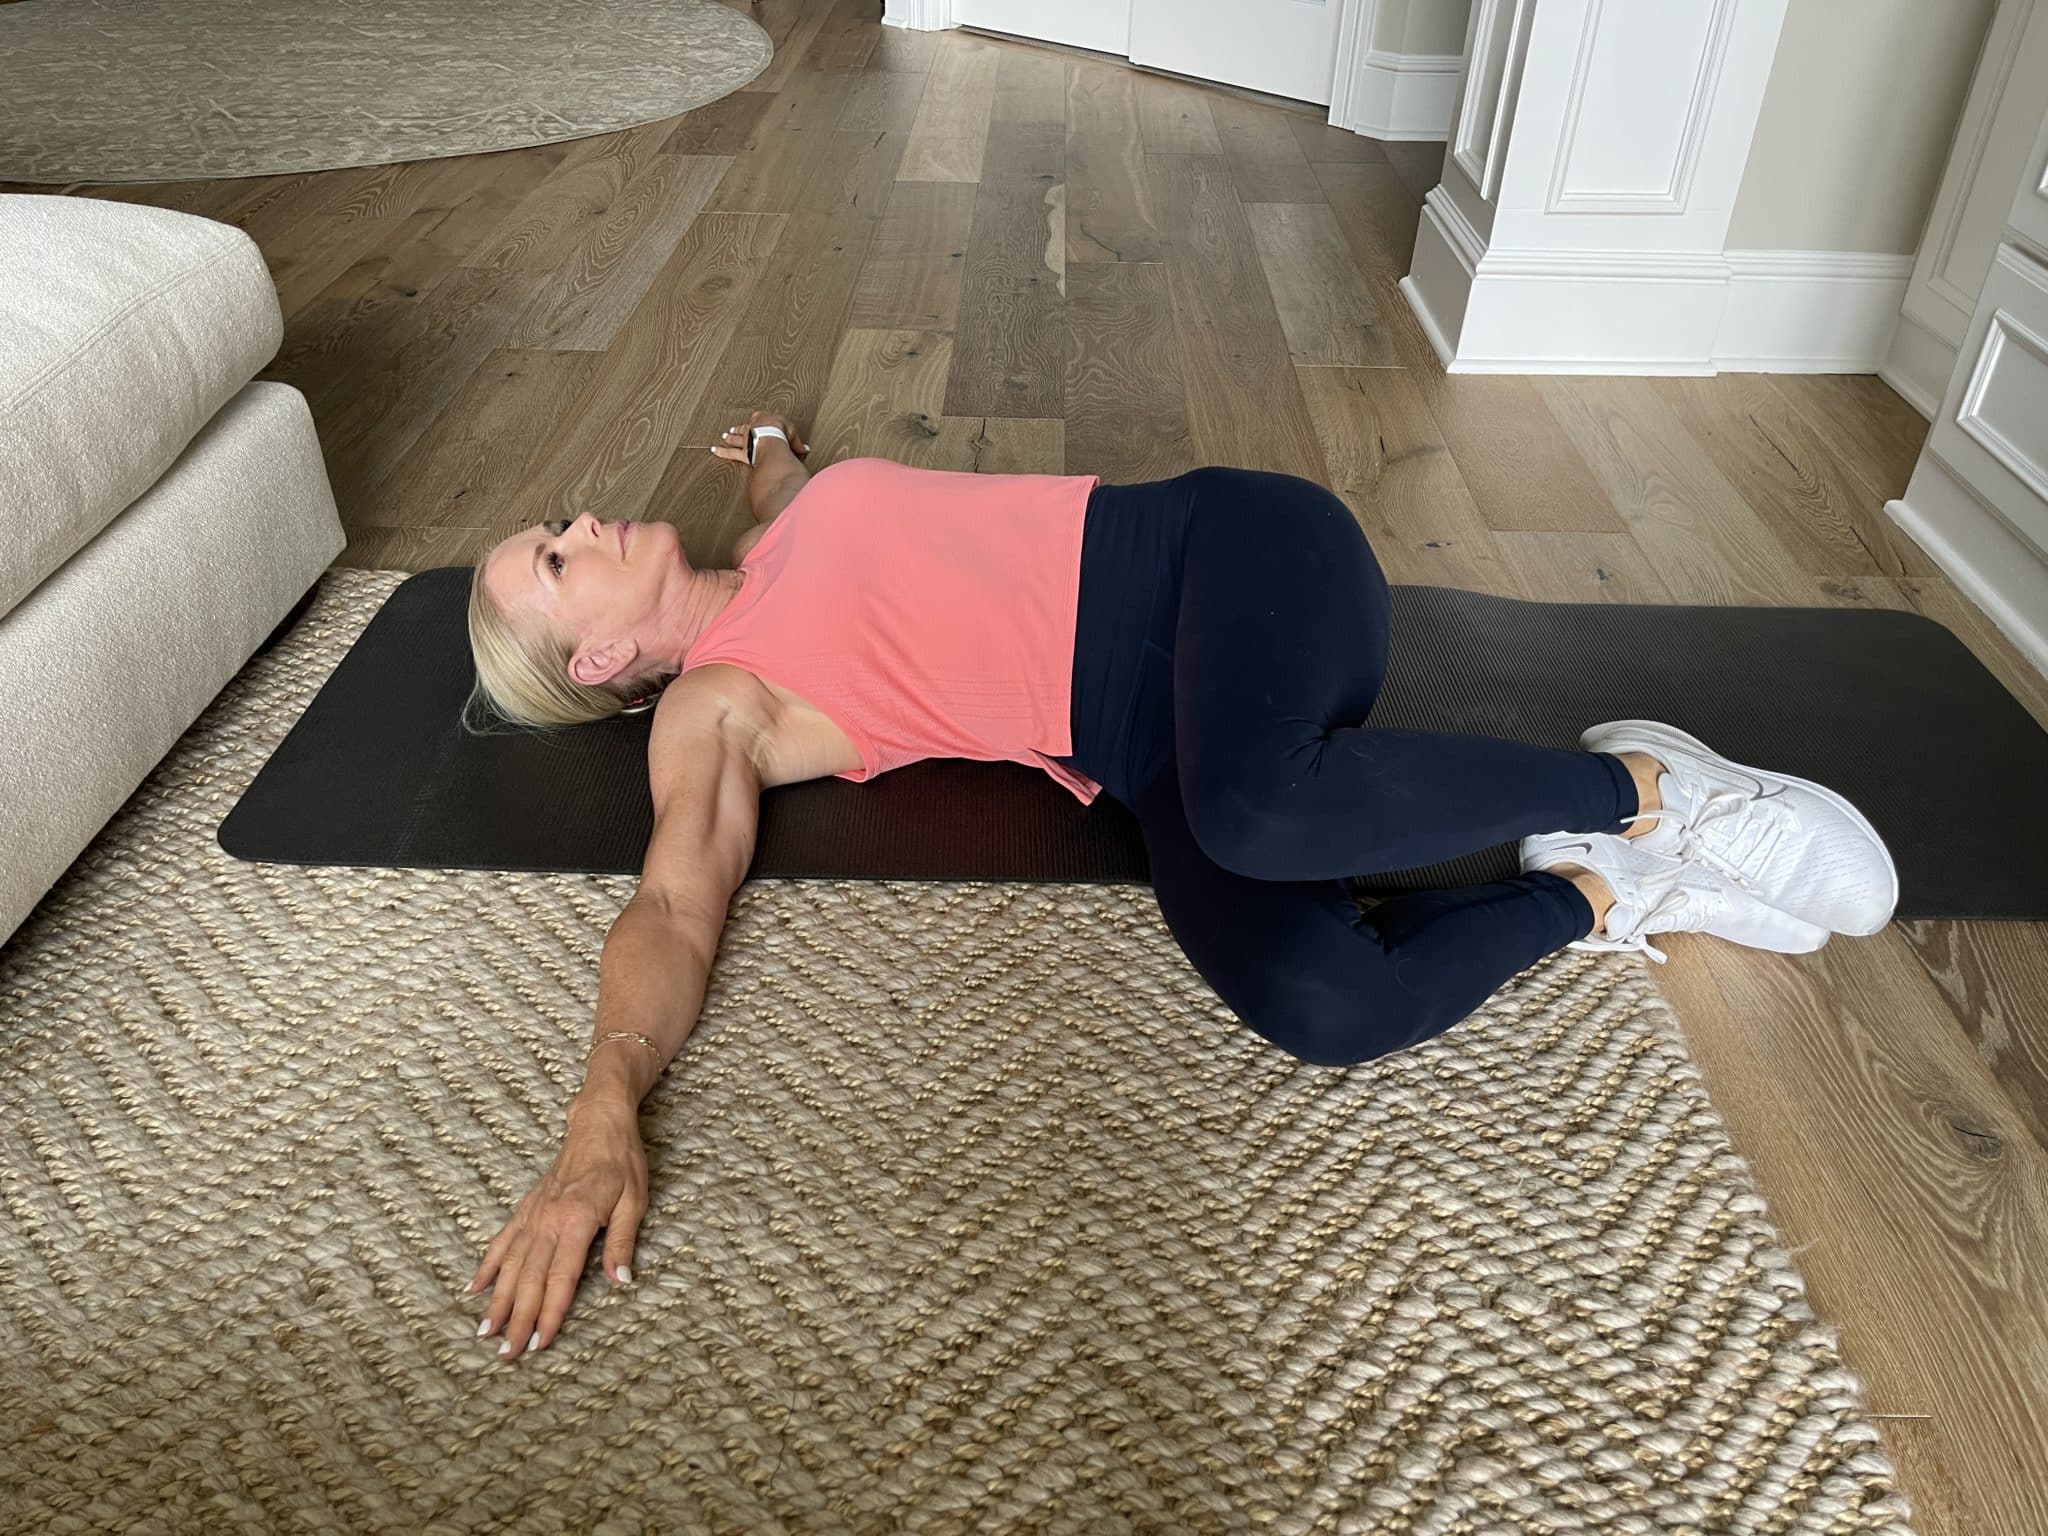
This stretch is relatively gentle but effective for the SI joint as well as the low back! Here are the steps to performing modified corkscrew stretch:
- Begin by lying flat on your back with both knees bent. Keeping both feet flat on the floor.
- Keeping the low back on the mat, allow your bent knees to sway across the midline (to the left), hold for 8-10 seconds. Squeeze the abdominals to return the knees to the center.
- Repeat this process to the right by dropping the knees across the midline (to the right). Holding the pose for 8-10 seconds.
- Continue twisting side to side, about 4 times each side.
Child’s Pose
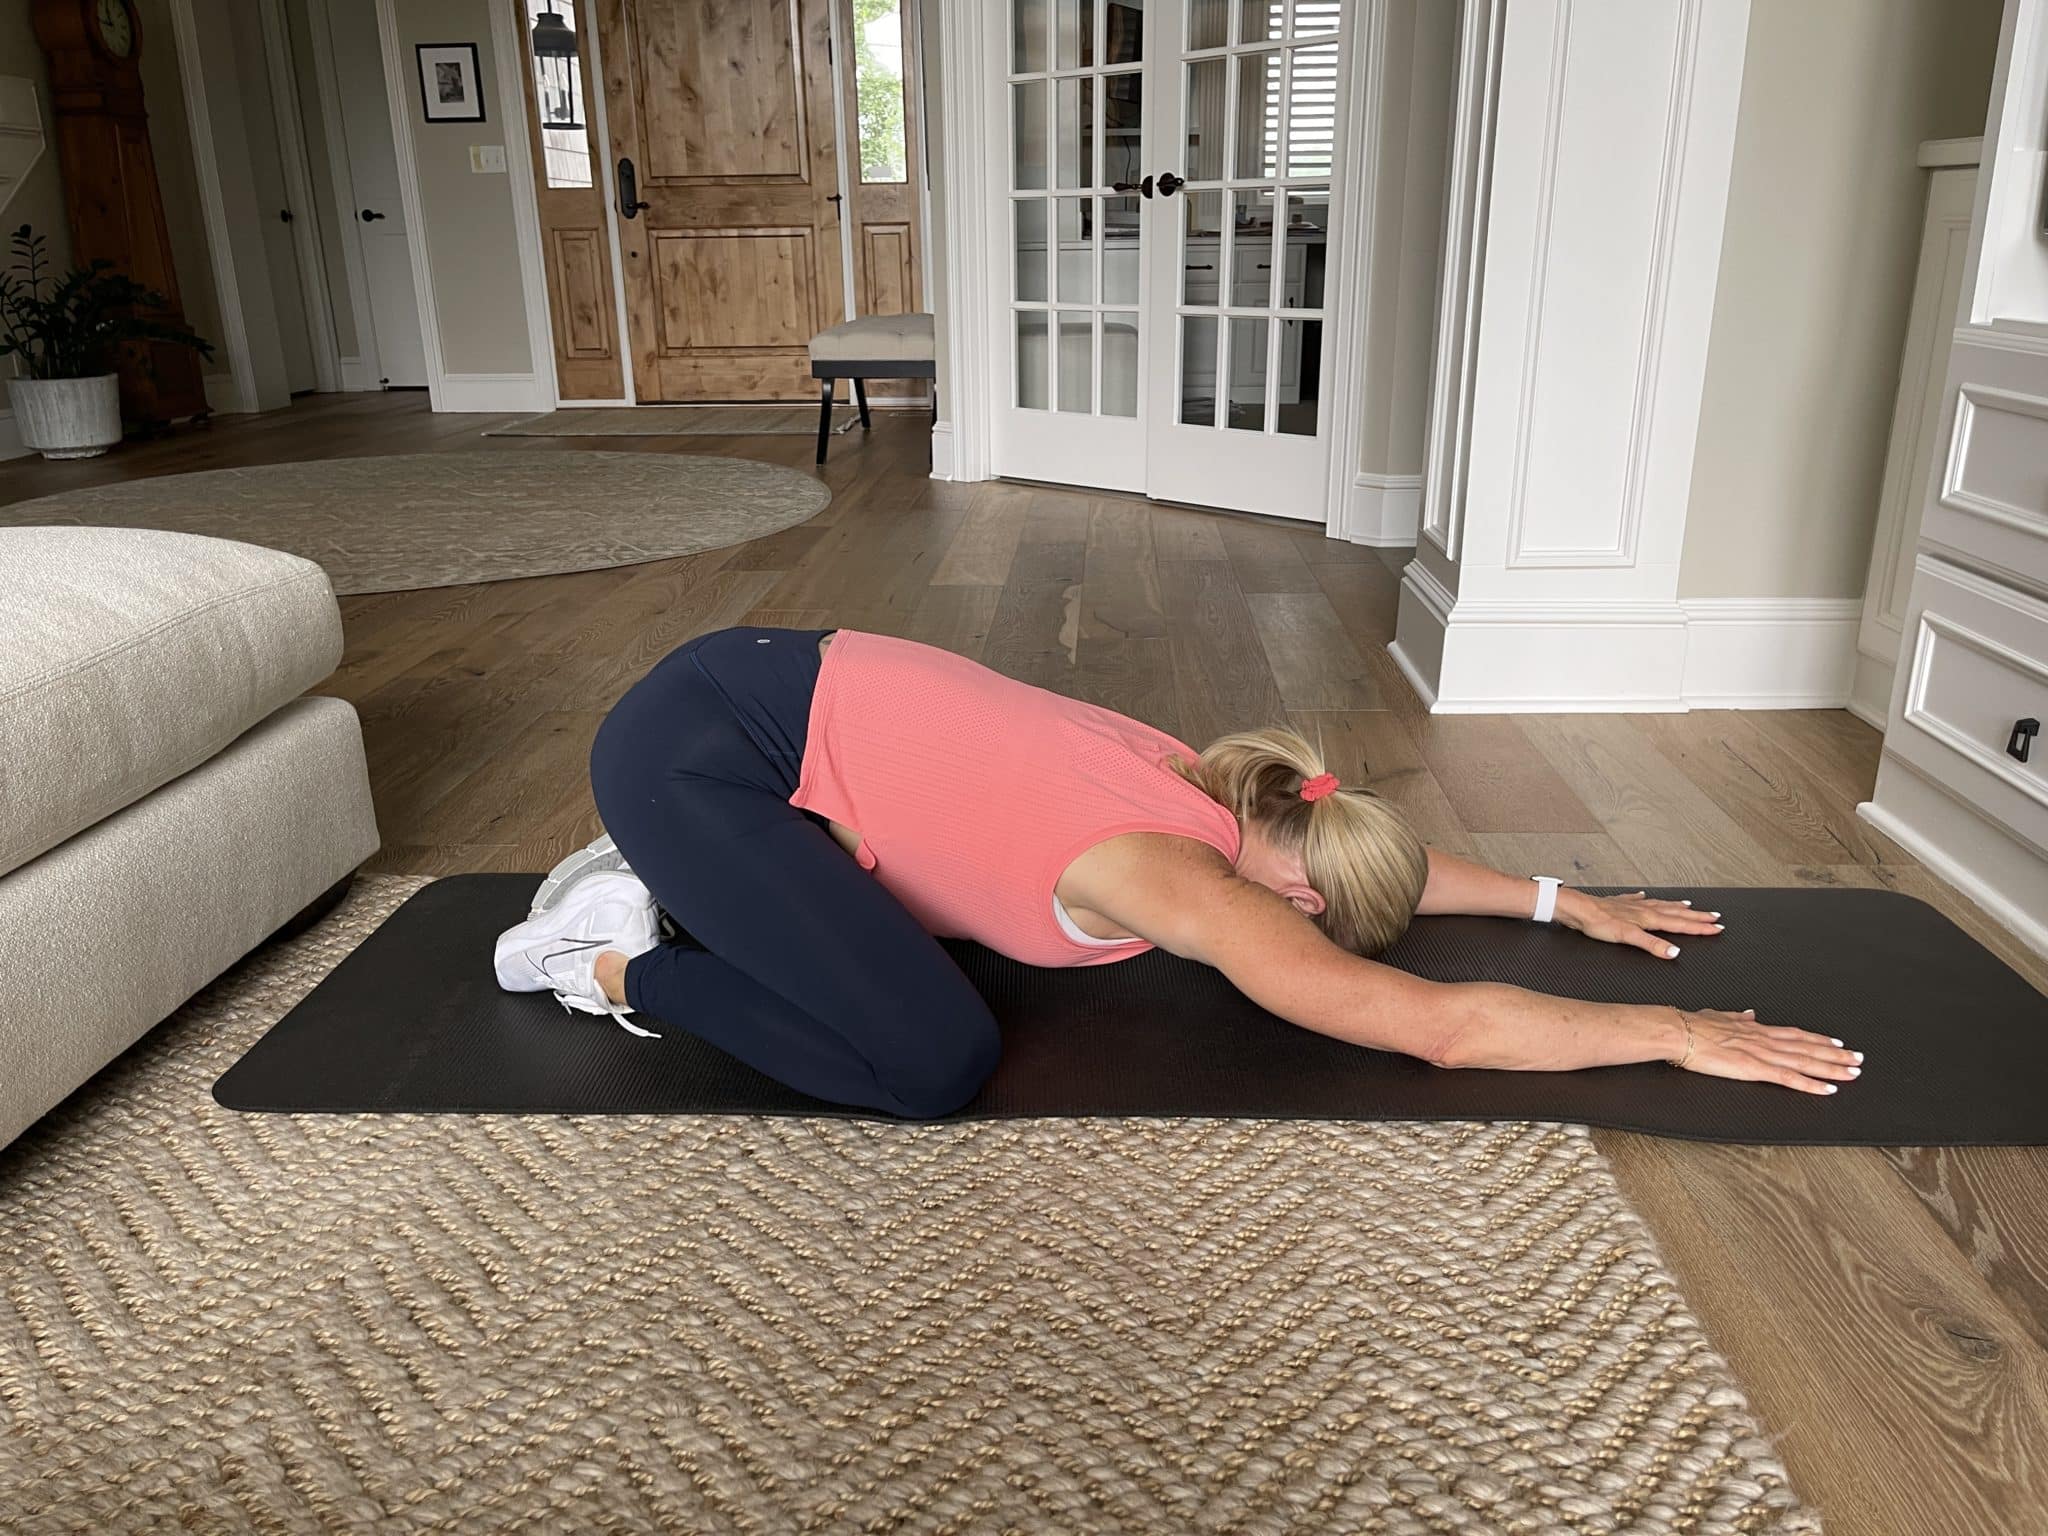
Here are the steps to performing child’s pose:
- Begin with hands and knees on the mat, knees separated to the outer edges of the mat.
- Sit your tailbone down and back between your heels and lower your belly between your thighs.
- Stretch your arms long in front of you and relax your forehead onto the mat. Breathe fully and hold as long as you’d like.
Practice these SI joint stretches daily to alleviate pain and promote healing.
SI Joint Pain Exercises To Avoid
If you’re looking for SI joint pain relief, it’s best to avoid some exercises that could aggravate the pain until you’re feeling better. Exercises that involve a lot of twisting, turning and shifting weight from one leg to the other.
These include:
- Sit-ups or crunches
- Weightlifting that involves the lower back
- Biking (due to sustained forward flexion at the waist)
- Running or jumping (due to repetitive pounding)
- Lunges or step-ups (single leg balancing)
How To Sit with SI Joint Pain
Sitting, especially for long periods of time can, unfortunately, make SI joint pain worse. Alongside your SI joint stretches above, practicing proper sitting posture is a good idea.
First off, if you do have to sit for a long period of time, it’s a good idea to stand up at least every hour to stretch. The proper chair is also important: make sure you have adequate lumbar support and adding a comfortable gel cushion is a good idea.
Alternatively, you can also use an exercise ball chair to relieve pressure and engage your core. Any time you sit, be sure to make sure your body follows this alignment:
- Sit squarely on the chair with your knees slightly separated
- Do not cross knees, but instead cross ankles
- Keep your weight distributed evenly and sit comfortably with your lower back supported
Practice these strategies for sacroiliac joint pain relief!


This article would be better with videos. Hard to visualize since there’s so many steps!
Hi Alba – Did you see the video at the top of the page showing all of the exercises in one video?! We will work on adding more videos throughout this blog for sure – thanks for your suggestion. But in the meantime, use the video at the top of the blog and click pause if you want to do more repetitions before the next movement.
Thank you very much..just what I was looking for!
Some of these moves are hard on the knees. Is there another group of exercises for the knees?
Hi there – this article has some good exercises for folks with bad knees : https://gethealthyu.com/10-lower-body-exercises-to-combat-knee-pain/